Cool
Introduction To Color Correction & Grade In Premiere Pro
In this course you will learn the basics of color grading and color correcting and how to improve the colors in your videos to make them look better and more professional.
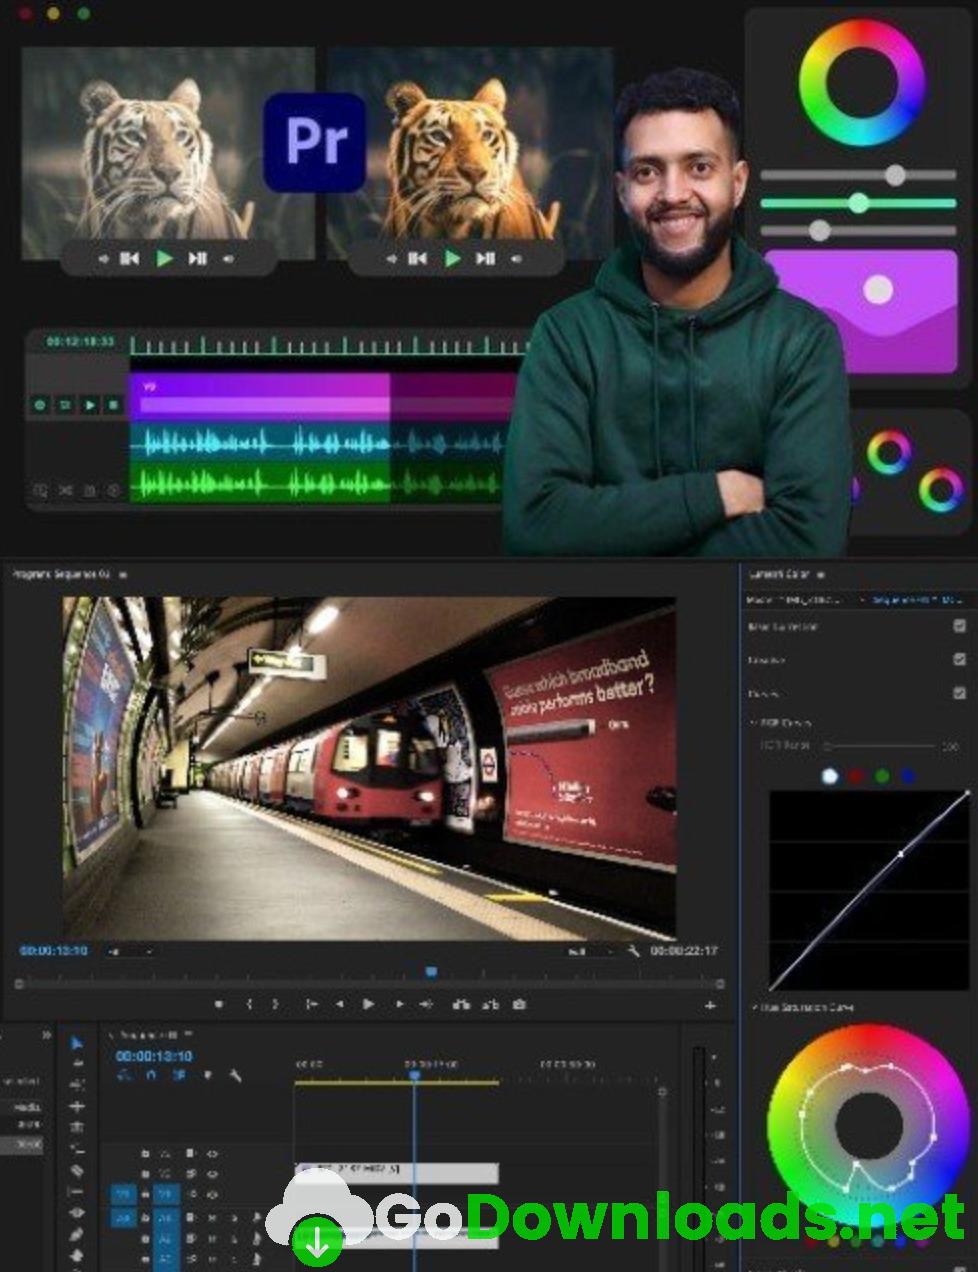
First we will see how to work with the premiere pro interface that is used to edit colors, and we will see the Lumetri scopes that we use to measure the rate of colors and light in videos.
The Lumetri scopes is one of the most important tools that you need to know.
Then we will move to the basic correction menu which contains multiple tools like the exposure the contrast the highlights and the shadows. These tools are crucial to edit colors in any video.
We will also take a look at other tools that helps you improve the quality of your videos like the sharpen tool which we use to increase the sharpening of our videos and the vibrance tool which we use to balance the colors and a lot more tools.
In the next section we will take a look at the curves menu which we use to change and edit any color in our videos. Next we will move to the color wheels and match menu which we use in color grading and adding a unique color style to our videos.
We will also see the HSL secondary menu which we use to edit the skin tone with all the features that it offers. We will see more tools and ways that helps you to work with the software pretty well.
By the end of the course you will have learned all the basics of color correction and color grading and how to work with different clips and edit them. You will also know the proper tools to use for each type of video and you will be able to transform your videos from normal videos to professional ones.


