
Cool

Jon Snip Portrait Editing Tutorial 2.0 (Import to Export)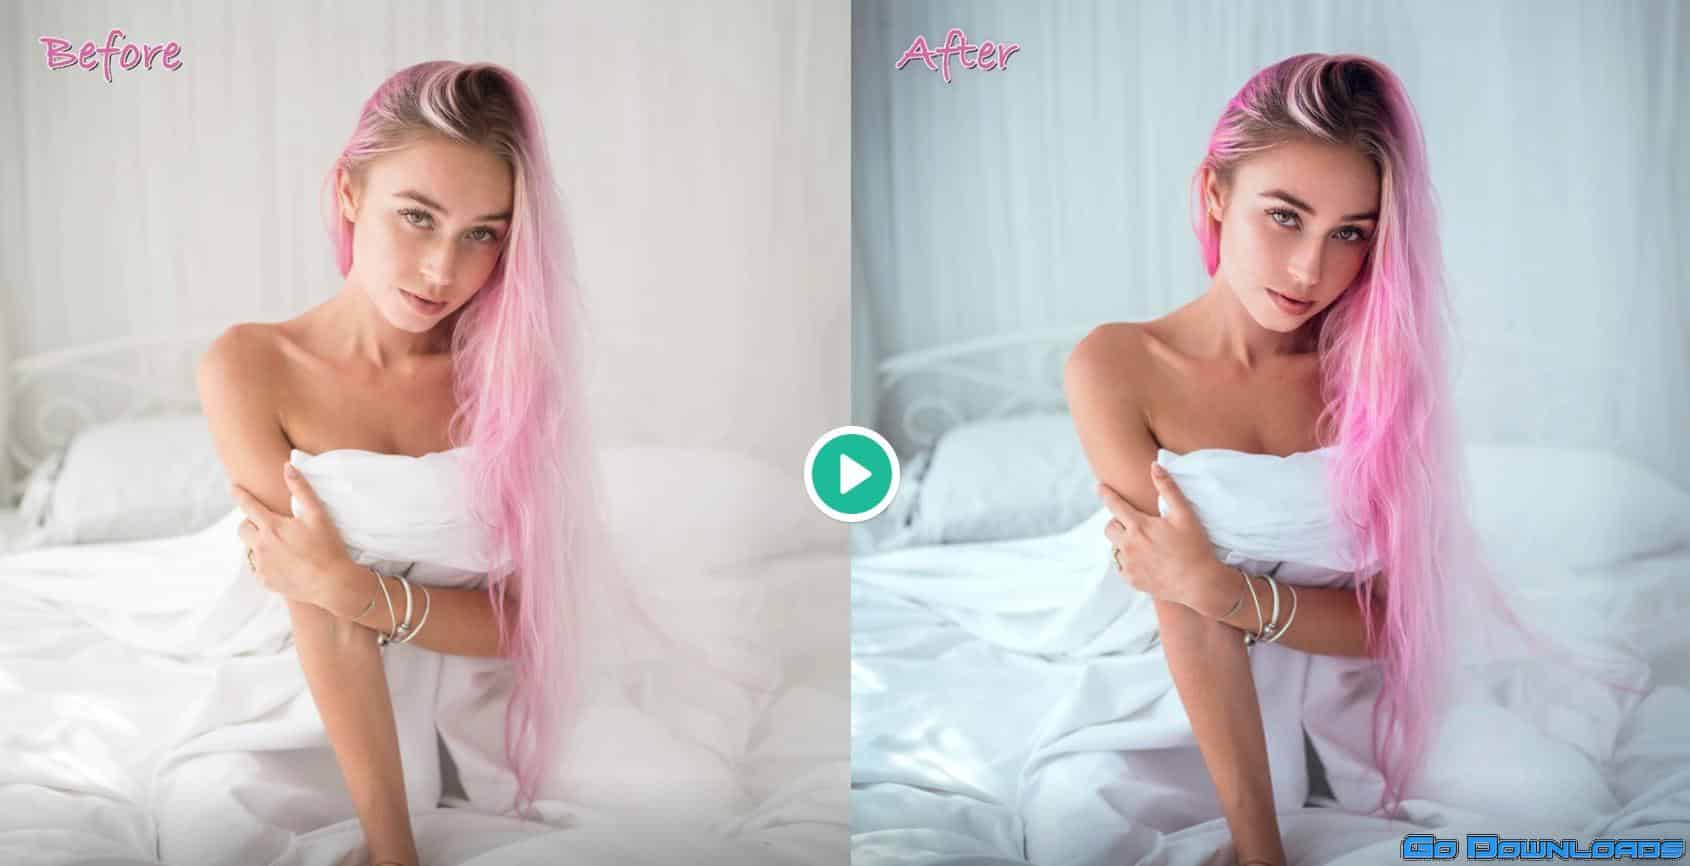
Welcome to the 2nd version of my Portrait Editing Tutorial:
In this tutorial, we are going to run through my entire updated editing process from import to export. I will focus on explaining the thought process behind the various stages of my edit, as well as how the various tools within Photoshop and Lightroom work, because I want to give you the ability to create your own unique editing style, not just replicate mine. You will be able to follow along with the attached RAW files (unfortunately, you may not post the image anywhere online or use it for any purpose other than following along with this tutorial).
What this tutorial will cover:
We will be working in Adobe Lightroom, & Adobe Photoshop. Prior experience with these programs would help, but is not necessary, as I will explain everything that I do in detail. I will also provide you with hotkeys, keyboard shortcuts, and photoshop actions to speed up your workflow.
Included with this download:
– The full 3:05hr Jon Snip Portrait Editing Tutorial 2.0
– The RAW file of this image (+ bonus RAW File)
– Photoshop actions for local dodge & burn, global dodge & burn, color contrast curve, high pass sharpen, & frequency separation brush (to use go to Photoshop > Actions > Menu > Load Actions)
Homepage:-https://jonsnip.com/item/jon-snip-portrait-editing-tutorial-2
Fill your request here and our team will try to post this material on the site

Cool
Nice
need these presets
That's amazing!
