Cool
Liquidverve Portrait Editing Tutorial 2.0 (“Narrative Editing”)
Liquidverve Portrait Editing Tutorial 2.0 (“Narrative Editing”)
English | 3hr 30m | Video: 1080p | Actions | Brushes | RAW file
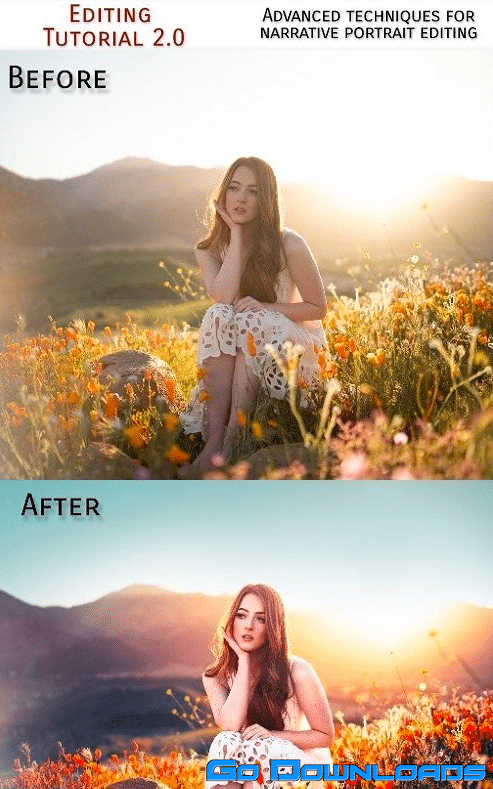
https://liquidverve.com/item/liquidverve-tutorialWelcome to my Photoshop editing tutorial that covers my current style of editing! This tutorial will introduce you to the tools, techniques, and thought processes behind my edits, so you can use them to build your own style! We will focus heavily on narrative editing, i.e. using post-processing tools to help enhance the story-telling aspects of a portrait.
We will cover:
-
- Chapter 1 – Introduction to Narrative Portrait Editing – What is Narrative Editing and how do we implement it?
MAIN EDIT – FULL WALKTHROUGH
-
- Chapter 2 – Camera Raw – Maximizing the potential of our raw file, especially in difficult-to-edit shots with under- and overexposure
-
- Chapter 3 – Distraction Removal – Efficiently removing distracting elements via minor composites and clone stamping
-
- Chapter 4 – Retouch – Evening the skin with Dodge & Burn while maintaining natural texture and adding definition to enhance the model’s beauty
-
- Chapter 5 – Tone & Color – Creating unique and impactful color palettes via Curves and Selective Color
-
- Chapter 6 – Finishing – Finalizing the exposure balance, adding grain, sharpening, and exporting the image
ADDITIONAL BONUS CHAPTERS
-
- Chapter 7 – Narrative Composites – In-depth discussion on building composites that help tell a story in portrait editing via two sample edits
-
- Chapter 8 – Narrative Color – In-depth discussion on color palettes and application in portrait editing via two sample edits
Included with this download:
– The full 3:30h editing tutorial (digital download or replayable online stream)
– The RAW file of the main walkthrough image (full version and compressed version for slower systems)
– My simplified and decluttered Photoshop Workspace and Toolbar
– Instructions on how to import the Workspace and/or Toolbar
– Photoshop Actions for setting up: Local Dodge & Burn; Skin Hue Balancing; Contouring / Global D&B; Base Color Layers; Adding Grain & Sharpening; Exporting for IG/Web (to use go to Photoshop > Actions > Menu > Load Actions)
– My brushes used for Dodge & Burn (one with and one without pressure sensitivity)


