Cool
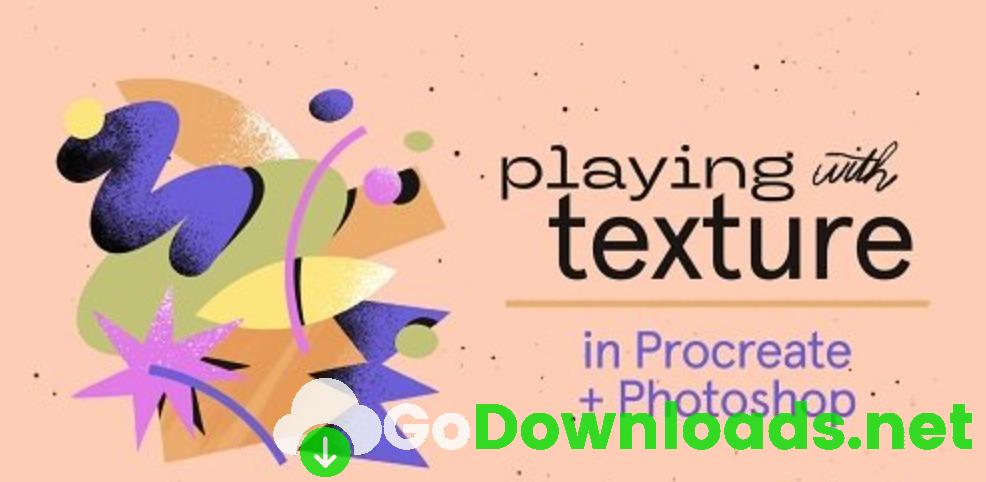
Playing with Texture in Procreate & Adobe Photoshop: Glow-Up Your Designs
Texture can often make or break a work of art – and artists everywhere seem to agree. In fact, one of the most frequent questions I get asked on social media.. via email… while teaching.. basically EVERYWHERE – is “what brush did you use?”
While designing and illustrating digitally, artists add most of their detail and texture using a variety of pre-made brushes. In this class, we’ll be going over the simple steps for texturing your illustrations in both Adobe Photoshop and Procreate – feel free to follow along in either program. We’ll go over all different types of texture – like drybrushing, spray texture, inking and more. And the best part – each technical tip is short and sweet! Quick and simple, easy to digest.
If you want to learn about digital texture and truly transform your work from flat to FABULOUS, this class is for you! No matter if you’re just starting out on your illustration journey or you’re a seasoned professional who wants a sneak peek into another artist’s workflow.
Lessons Include:
- Detailed workflows in both Procreate + Adobe Photoshop
- Two pre-made downloadable illustrations to work with
- An extensive Brush Guide
- An easy introduction to digital texture
- My favorite texturing techniques using masks, clipping masks and blending modes
- How to distribute texture successfully


