Cool
Simple Drawing and Shading Techniques: Still Life
Simple Drawing and Shading Techniques: Still Life
https://www.skillshare.com/classes/Simple-Drawing-and-Shading-Techniques-Still-Life/120928262
Improve your drawing and shading techniques using pencils. I am using a classic still life to study tonal values.
Improve your drawing and shading techniques using pencils. I am using a classic still life to study tonal values.
METHOD
-
- Once you have put out all your materials practise with with each grade of pencil different pressures to see the different tones you are able to achieve. See what is the lightest tone with the lightest pressure and the darkest tone with the heaviest pressure. Try and use the side of the pencil point to get even coverage. If you use a point you will get scratchy marks.
-
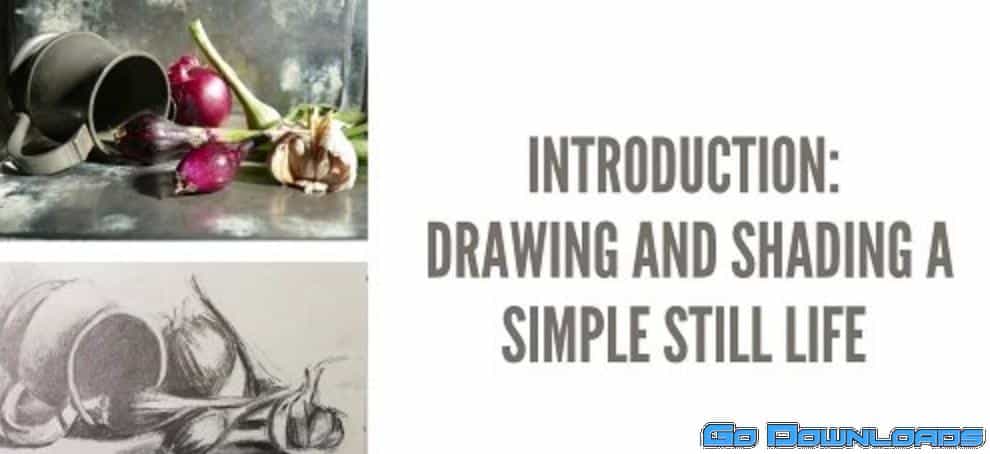
- I have posted both the full colour version and the black and white version to show you the tonal range. Really look at both and compare. Draw this out on A5 or draw a rectangle the exact same size as the print out in black and white. If you go to A4 be warned you will be shading for a looooong time!! However if you want to please do.
-
- Divide both the picture and the rectangle exactly the same
-
- First TAKE YOUR TIME AND REALLY LOOK AT THE PICTURE. Take in the negative spaces, the relationships as well as the abstract shapes that emerge by dividing the picture into four.
-
- Start drawing the still life out using an HB or B. I started from the top and worked my way down. There are two options so try both to find out what works best for you. Either draw out section by section when it becomes more abstract or look at it as a whole comparing the objects. Think about what works best for you. You can combine both techniques as I do. Fold the paper to see each quarter in abstract while from time to time unfolding to look at the whole picture to make sure it is working as a whole. Make sure the negative shapes are correct and the objects are in line where they should be.
-
- Use the side of the 2B pencil to map in a medium tone where BOTH the medium and dark tones are. DON’T PUT IN THE DARKEST TONES straight away. You want to build up gradually.
-
- Take care of the shadows. They are darker closer to the object. No hard lines please. Use a circular motion to create a soft edge. A classic mistake is when you see a hard edge of a shadow or it outlined. Try not to do that.
-
- Move onto 4B and start building up the darkest tones and the sharper edges and details.
-
- Finally use 6B ( if you don’t have a 6B you will be fine with the 4B just add more pressure on the side. Don’t dig into the paper. )
-
- Use a eraser to tidy up the highlights and take out the outlines on the right where the light hits. These are called lost and found lines or descriptive lines so you can show where the light is hitting.
- Finish off any little details. I left the garlic quite loosely drawn as the focus is the onion against the pewter mug but that is an artistic choice!


