Cool
Sue Bryce Photography – Posing & Direction with Curves
Items Used:
Black Velvet Backdrop
Canon 5D Mark iii
Tripod
Hair Dryer
Apple Boxes (painted with Black Chalkboard Paint)
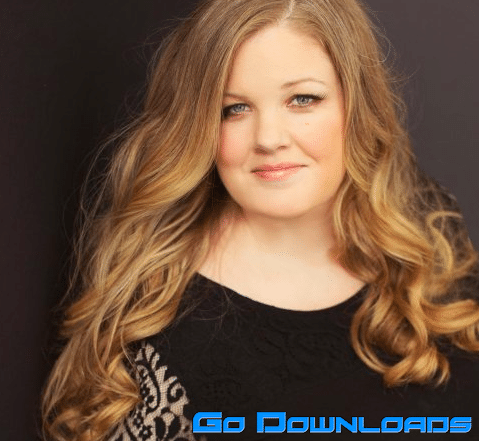
General Posing: As opposed to the Posing & Direction video series, Sue goes through the same General Posing with our curvy model, Jen.
Rule of 9’s: Compare and contrast the Rule of 9’s and see how different angles of the face work on different body types.
Rotation: Always remember to rotate your client to find the best angle that is the most flattering for their shape.
Pose From the Feet Up: Go through Sue’s method of posing from the feet up, curated each part of the body to create the most flattering pose.
Arms: One of the most common parts of the body that women are most insecure about is their arms. Go through different arm positions to find which one will work best for your client.
Ottoman: When laying a client down, only certain poses will work well with their body type. Watch Sue as she poses Jen on the ottoman.
Reclining Poses: Using apple boxes or a chair, go through posed you can use reclining your client into a pose that looks casual yet beautiful.
Black Boxes: Sue uses black boxes to create poses with Jen. These boxes can be used as something to sit and lean on to create a flattering pose.
Retouching Curves: Watch as Sue gives you tips and tricks on how much to photoshop and the best ways to do it when retouching curvy clients.


